Multiple-Choice
The example below is Problem 1 in “Interactive Questions (US History)”.
Thumbnail Preview

Example Video
Step-by-step instructions
To create the above question in Problem-Attic, follow these steps:
-
Go to the Arrange tab and click Write New Problem.
-
In the editor, type the question and press Enter to start a new line.

-
Type the answer choices, and press Enter after each one. If you like, you can insert an image or add a math formula.
-
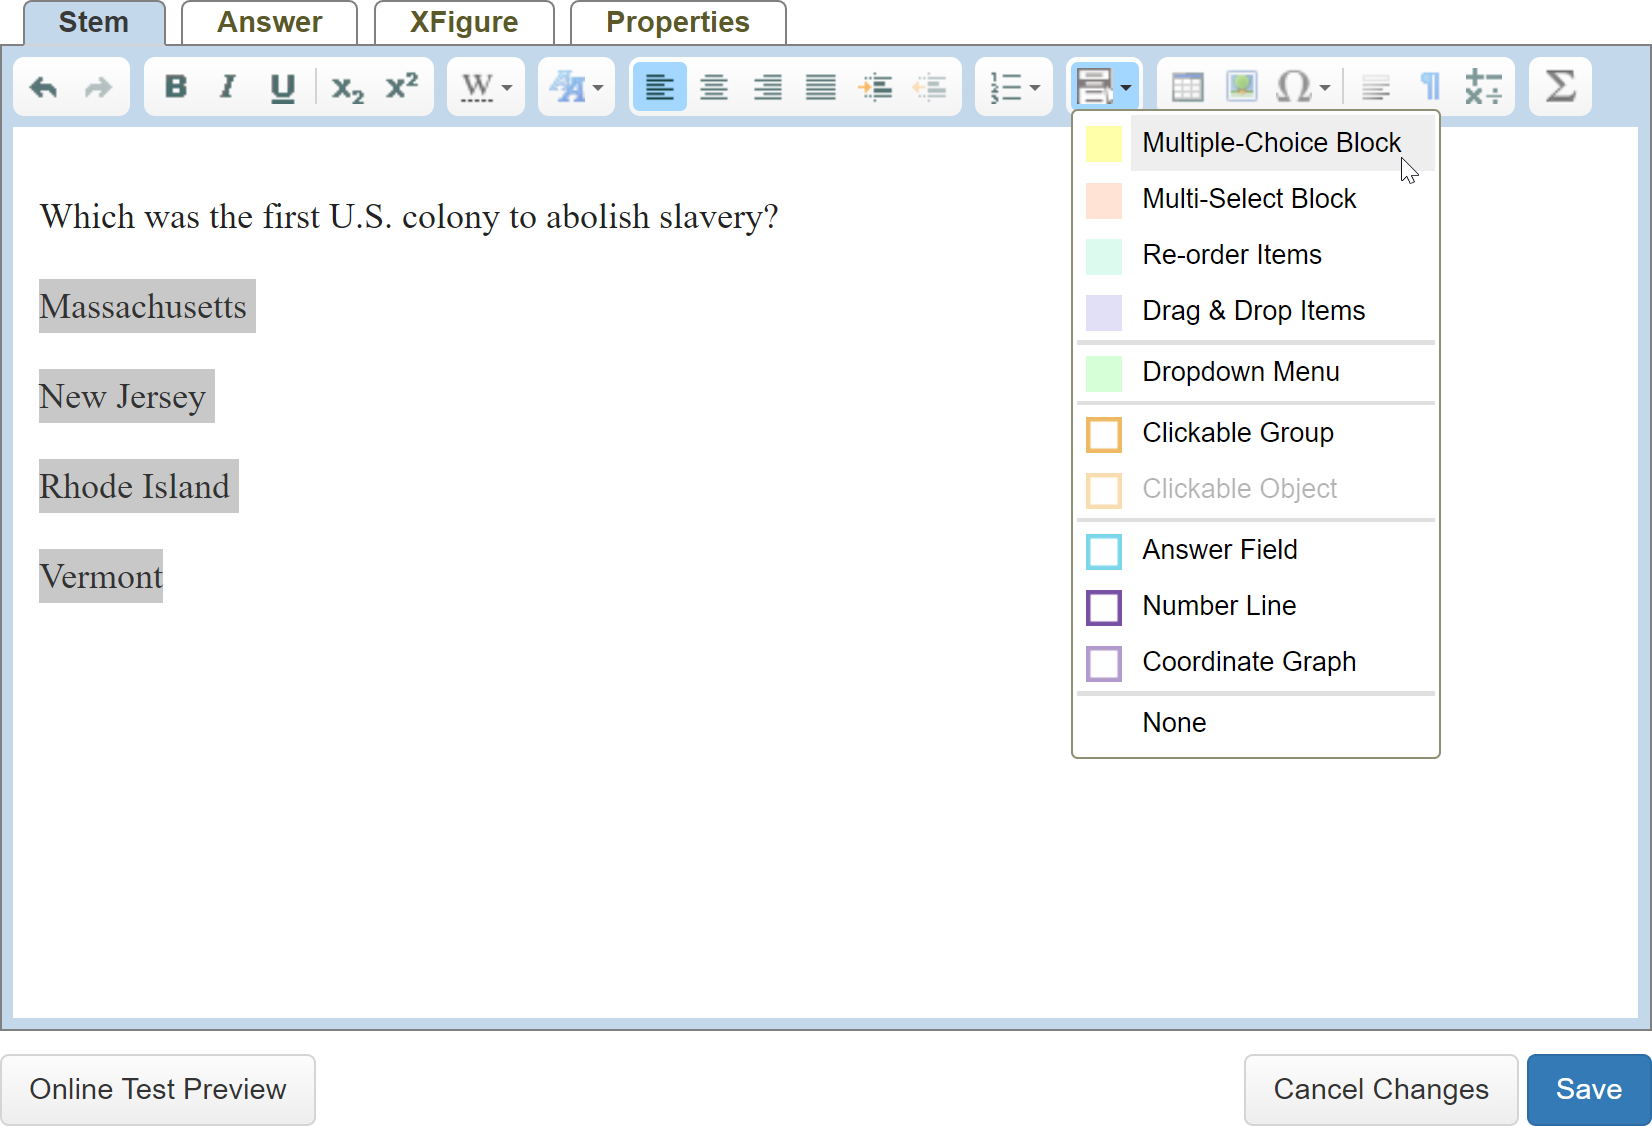
Highlight all of the choices.
-
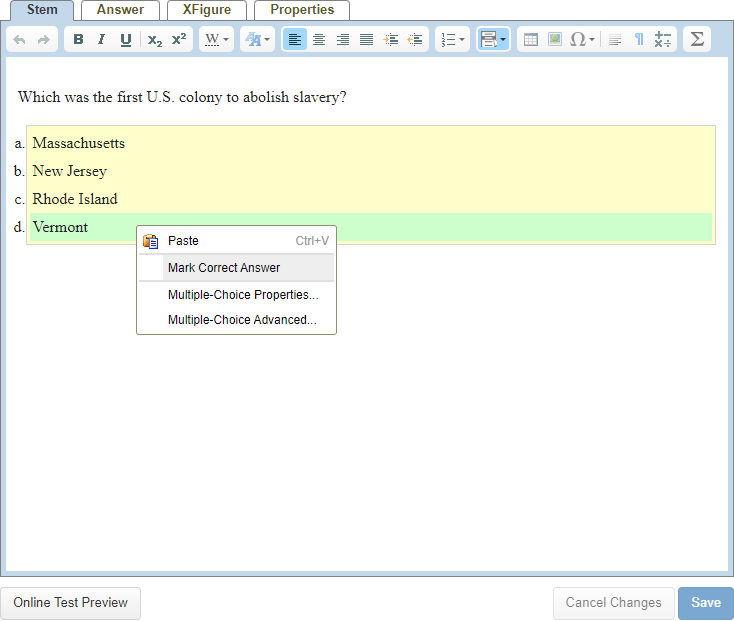
In the editor toolbar, click Answer types and select Multiple-Choice Block. Problem-Attic will put the choices inside a shaded box with temporary labels.

-
To indicate the correct answer, right-click on it. On the pop-up menu that appears, select Mark Correct Answer. It will be shaded green.

-
Click Online Test Preview to see how the multiple-choice question will look and behave in an online test. When you are done, close the Preview, then then click Save.
More Details
-
The multiple-choice block that you see in the editor is meant only to represent the group of choices. When you make a PDF, slideshow, or online test, then the choices will get labeled and arranged according to the options on the Format tab.
-
Problem-Attic allows up to 8 choices in a multiple-choice block. You can type this number of choices in the editor and automatically reduce it later with the option called “Maximum choices” (Format tab).
-
Problem-Attic can automatically convert multiple-choice to free-response by hiding choices. If you don’t want this ever to happen for a particular problem, because the choices are needed for it to make sense, you can change this option. In the editor, right-click the block and select Multiple-Choice Advanced. Look for the key “hiding” and set it to “false”, then press OK for the advanced options.
-
The steps above are the recommended way to create a multiple-choice block. But some people prefer to create the block first and then type choices inside of it. That method works fine. Just be sure to press the Enter key after each one, as you would for creating any other type of list.