Drag and Drop - Picture Overlay
The example below is Problem 20 in “Interactive Questions (US History)”.
Thumbnail Preview

Example Video
Step-by-step instructions
To create the above question in Problem-Attic, follow these steps:
-
Go to the Arrange tab and click Write New Problem.
-
In the editor, type the question that allows the student to interact with an image, then press Enter to start a new line.
-
Type each drag item and press Enter after each one.
-
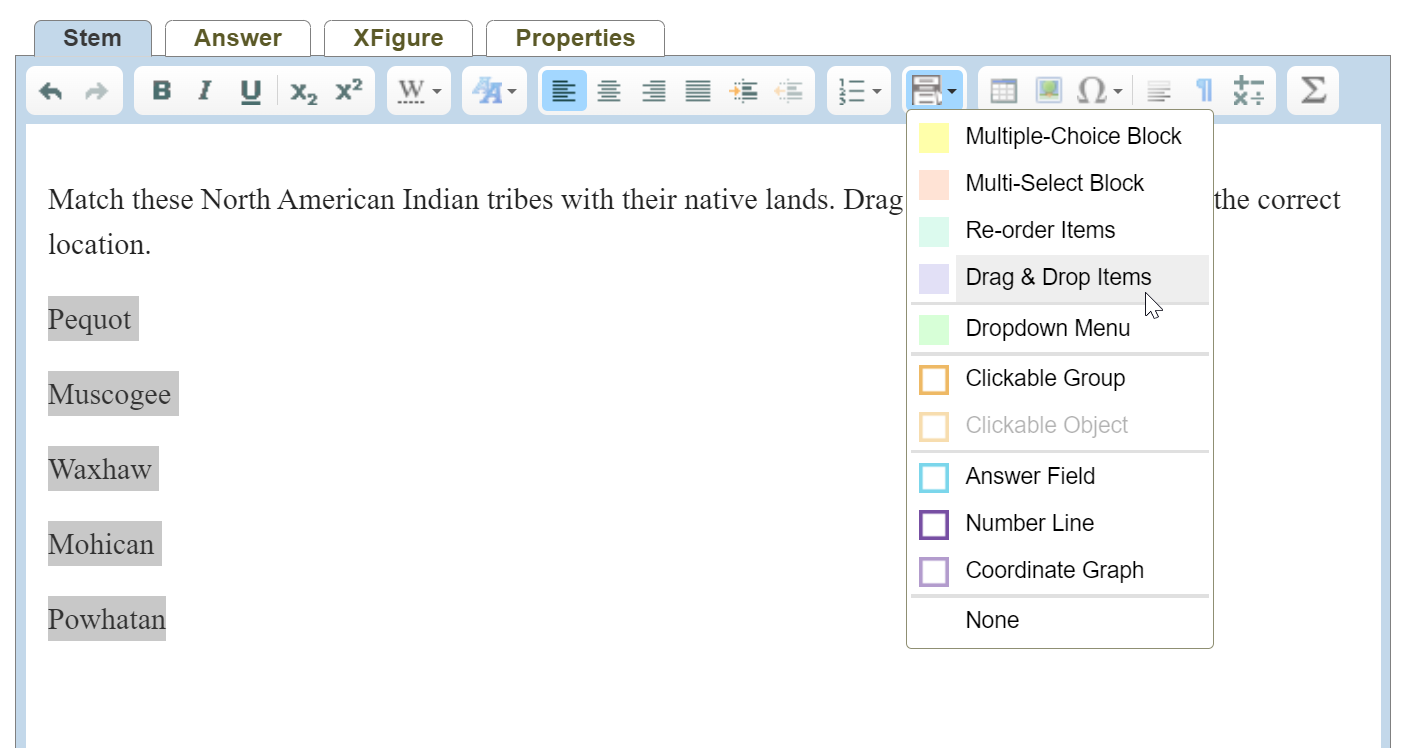
Highlight all of the items.
-
In the editor toolbar, click Answer types and select Drag & Drop Items. Your items will now be shown inside a shaded box with temporary labels.
-
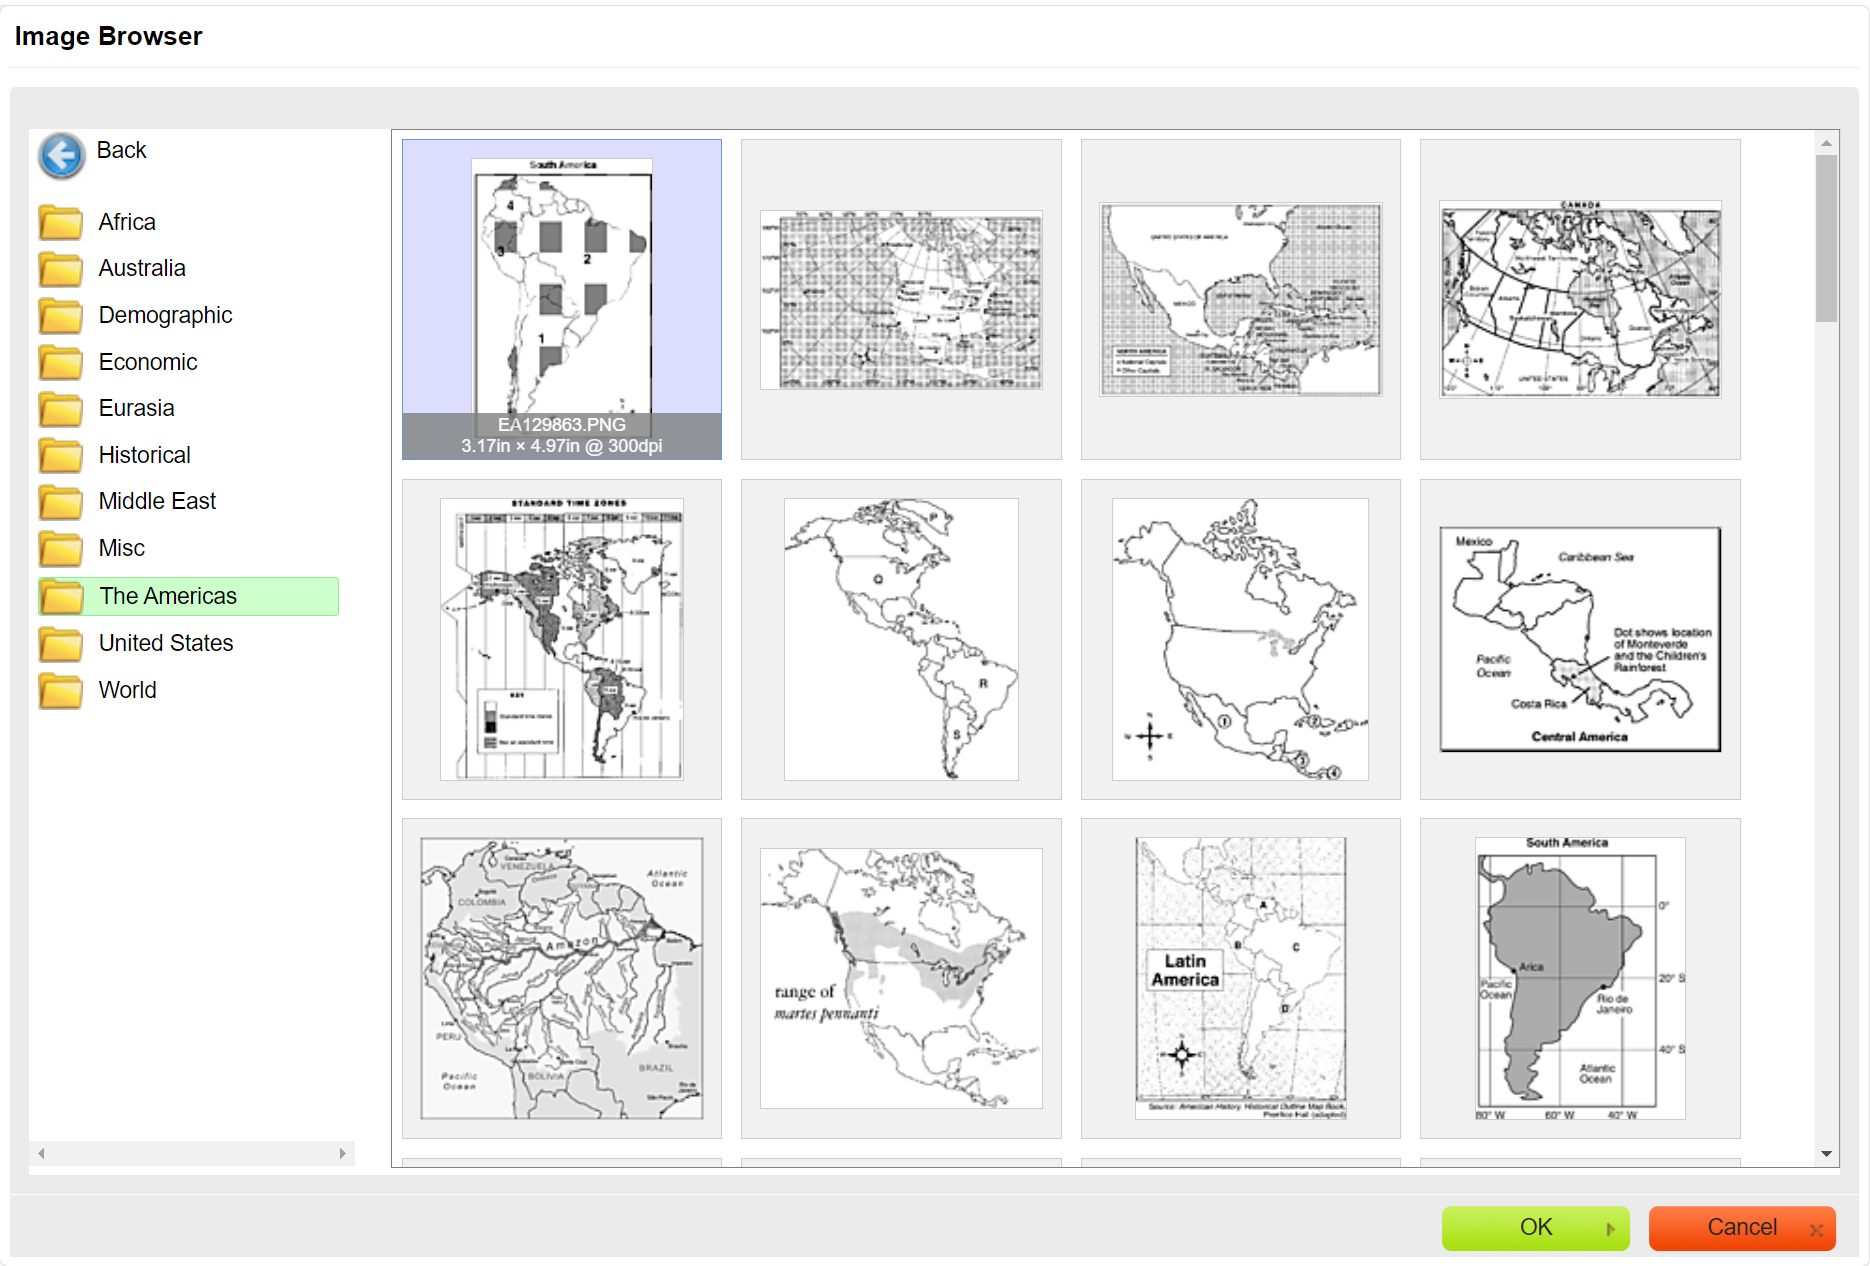
Press Enter twice to move the cursor out of the Drag & Drop item list. In the editor toolbar, click Image to open the image browser. Upload an image or choose from Problem-Attic's library of stock images.
-
Click OK at the bottom of the dialog box.
-
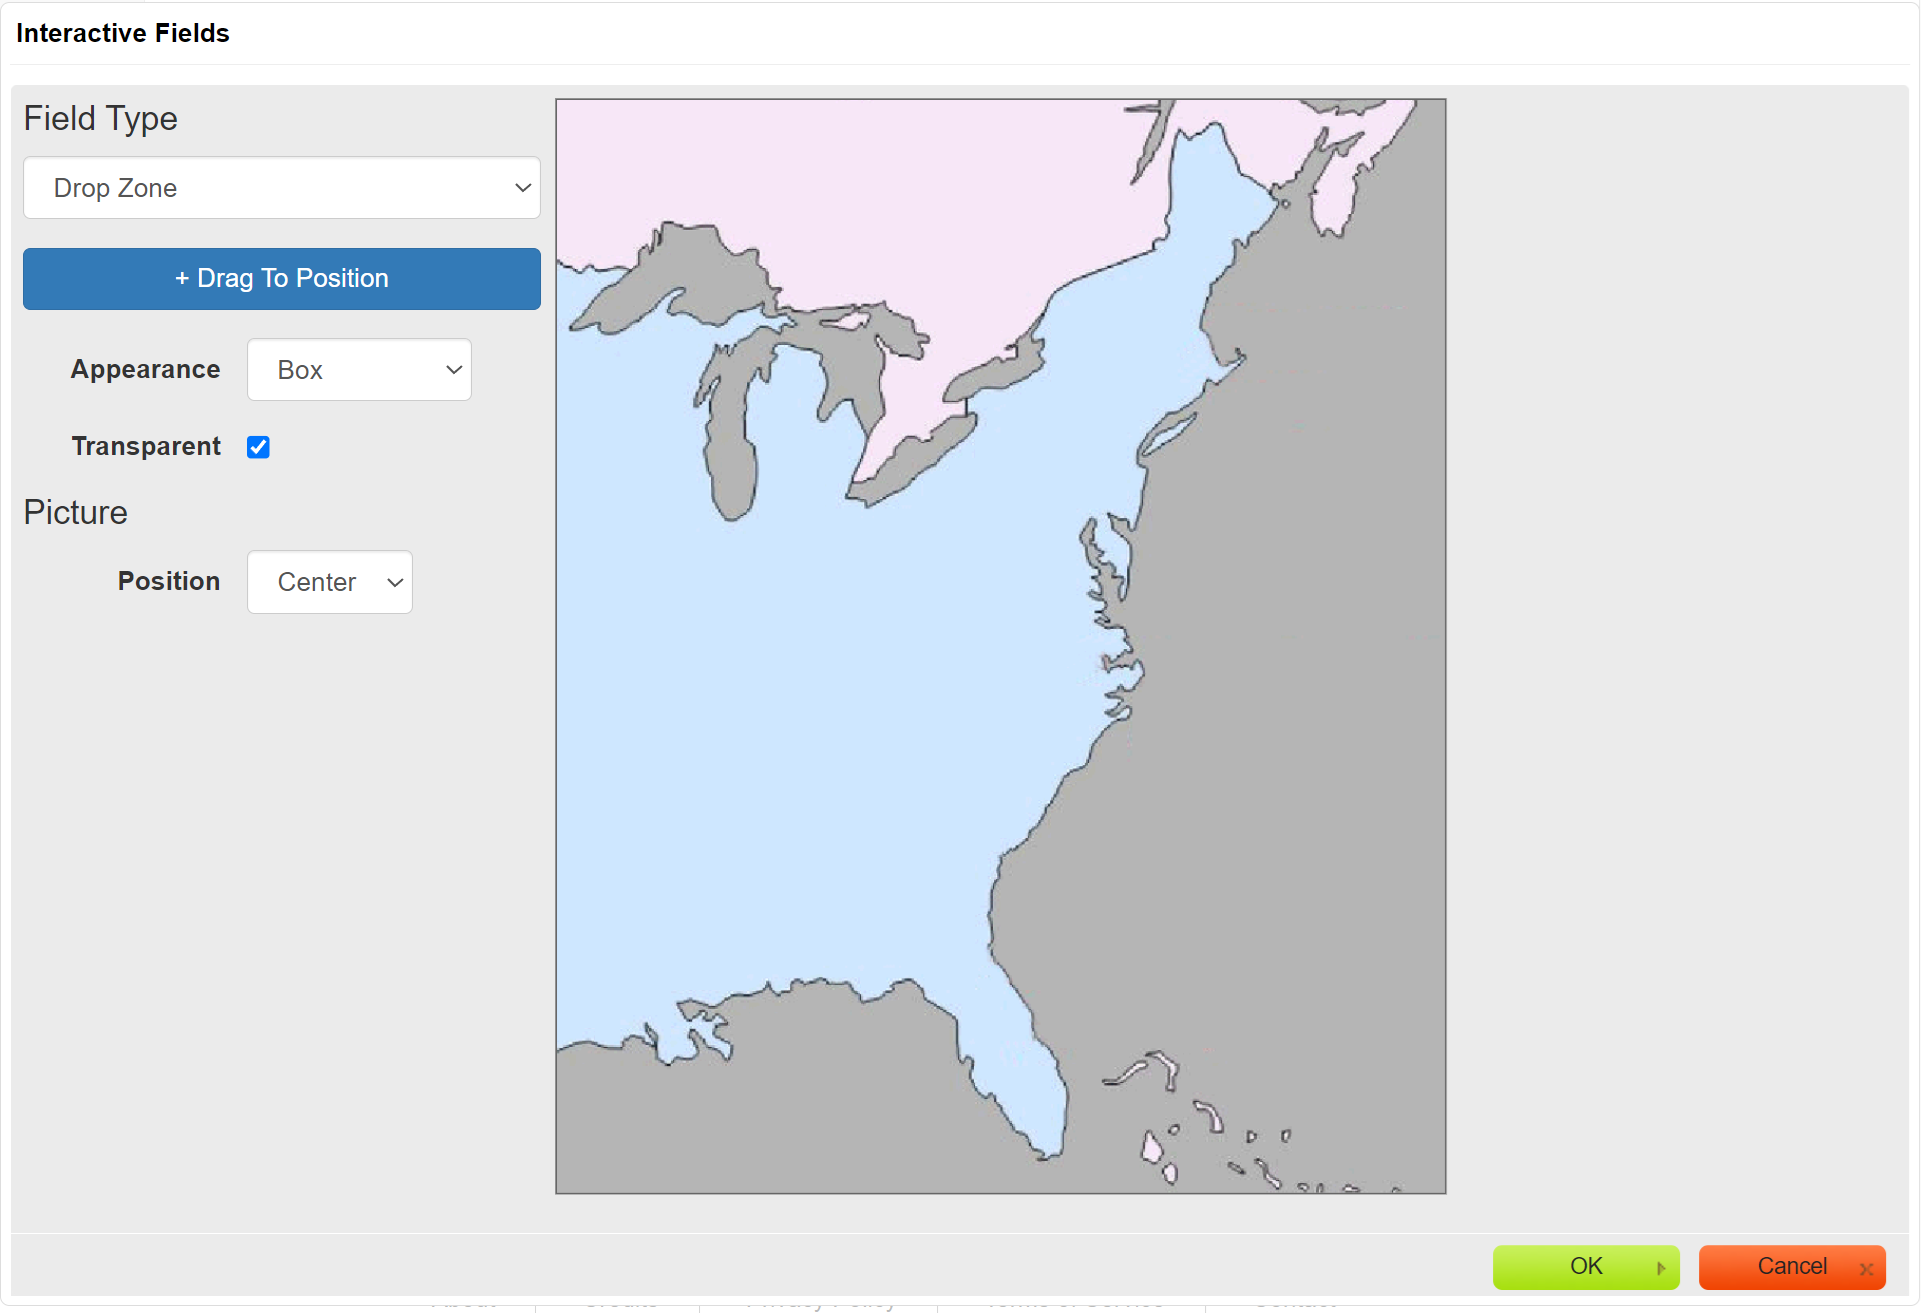
In the editor, right-click the image and select Interactive Fields from the pop-up menu.

-
For Field Type, select Drop Zone. Adjust the settings for Appearance, check or uncheck the box next to Transparent, and choose a Picture Position if necessary.
-
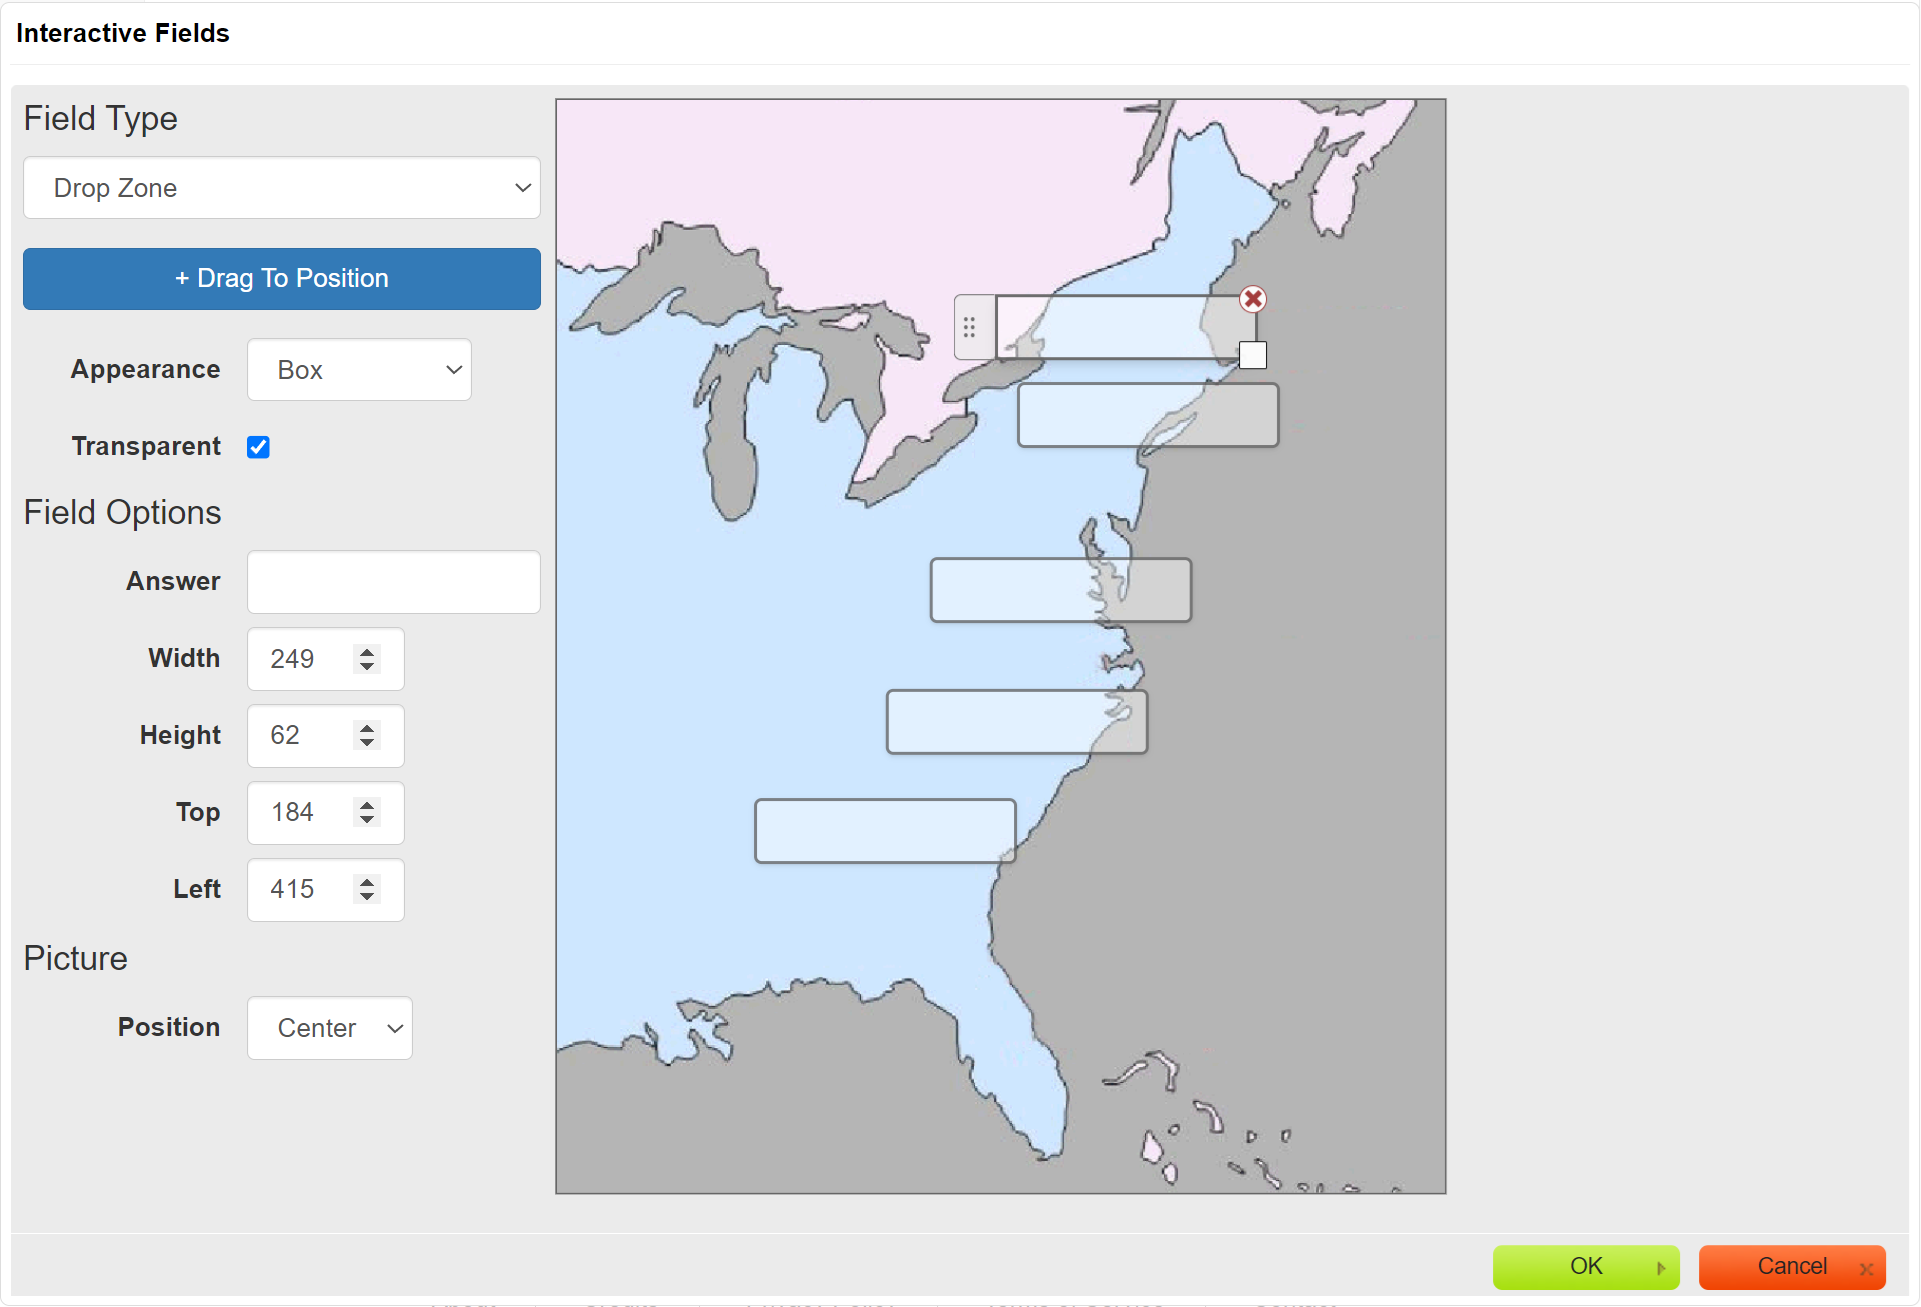
Click +Drag To Position or drag the button onto your image.
-
Click and hold the left tab to move the drop zone around the image. Adjust the drop zone size by clicking and dragging the bottom right corner square.
-
Repeat steps 10 and 11 for each drop zone.
-
To enter an answer, click on a drop zone and type in the correct letter from the list of drag items created in step 5.

-
Click OK at the bottom of the dialog box.
-
In the editor, click Online Test Preview to see how the picture overlay-drop zone question will look and behave in an online test. When you are done, close the Preview, then then click Save.